


Want a quick project with a variety of techniques, that aren’t too involved or time consuming, but will satisfy your creativity and provide some calming soul care time? The bonus is you’ll have a unique birthday or other greeting card, or journal insert, when you’re finished!
This Embossed Pocket with Tag is like the one in the last post, that was in the Envelope Folio, but this one has a different look to it. And even though the color palette is still neutral, this time I went with greys and black rather than browns.
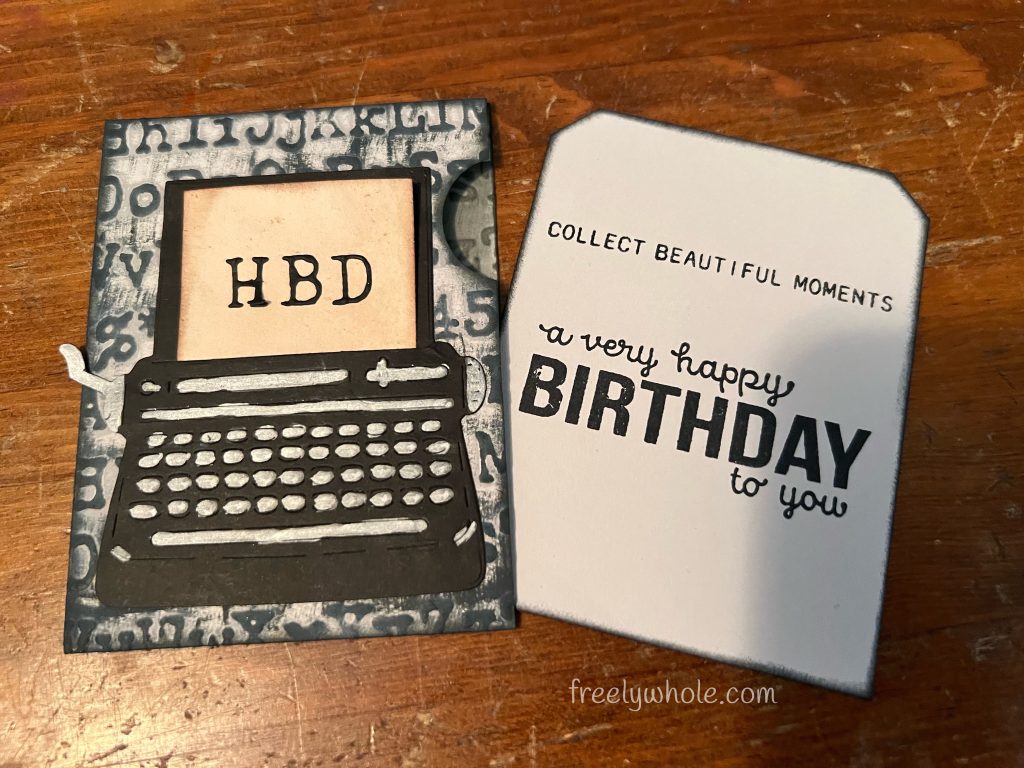
There are slight differences in technique details, but the basics are the same. I left out some of the more involved techniques on this one, to make it quicker, but with much of the same visual appeal. Here’s the process.
Start with 2 pieces of light grey cardstock.
- Pocket: Cut 3.5” x 8.5”. Score short side at 1/2”, long side at 4” and 8”. Remove one half of the 1/2” score, up to the middle score. Angle the edges of remaining flaps. (See cuts in image below.)
- Tag: Cut other piece of cardstock at slightly under 3×4”. Cut Tag corners on top edge.
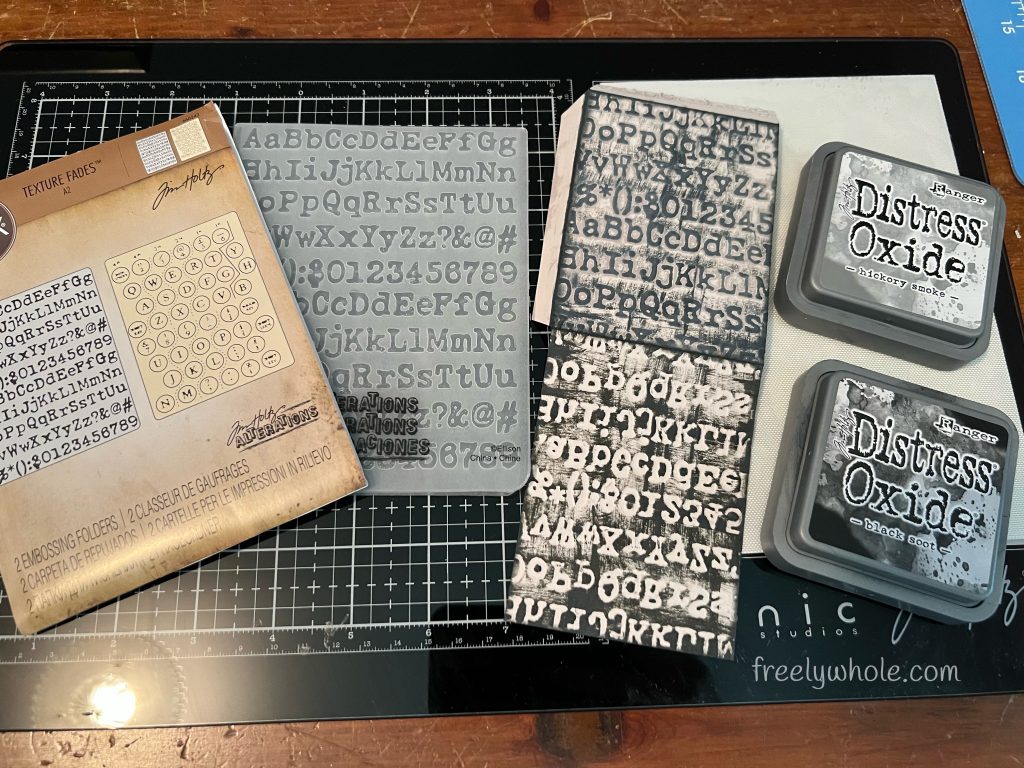
Fold Pocket cardstock in half. Ink the Typewriter embossing folder with Hickory Smoke Distress Oxide. Insert folded cardstock and emboss. After embossing, swipe Black Soot Distress Oxide over the raised areas.
Cut small thumb notch with ~1” circle punch. Glue flaps and adhere pocket together.
Die cut Typewriter from black cardstock. Fill in details with silver marker.

Trim slit for “typing paper” with craft knife. Cut tea dyed paper, to fit width, and long enough to glue behind typewriter body.
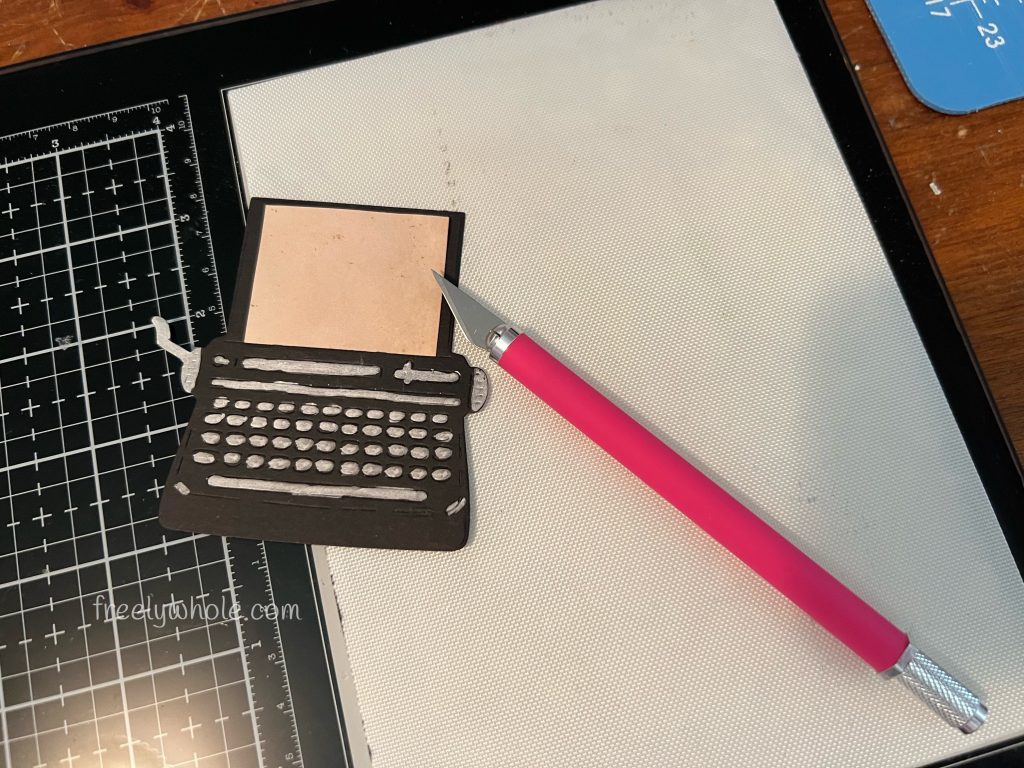
Add Xyron adhesive to small piece of black cardstock. Die cut HBD from that cardstock piece with Tiny Type Upper dies. Then adhere to tea dyed paper.

Stamp sentiments on Tag with Black Soot Archival Ink. I used Tiny Text, Stamp/Stencil THMM113 and Hampton Arts Birthday Sentiments w/ dies. Ink edges of Tag with Black Soot Distress Oxide.
Add Tag and cash or gift card to Pocket! And Voila, you’re done.
Of course, if you’re adding the Pocket to a Journal, use different dies on the “typing paper” and either leave the Tag blank for use as a journal card, or decorate one side of it with stamps and ephemera and leave the other side for Journaling. Either glue back of Pocket to Journal page, or insert into a tuck or pocket in Journal.
Please join our Community and Share your make of this project with us. Links below.
Living Coram Deo & freely whole
SDG!
~ Liberty
Please consider supporting Freely Whole ministries. Your support helps me to continue to provide Soul Healing content, to empower you and others to live a life that is Freely Whole–in Jesus!
Subscribe to my email list in the sidebar and get notifications of future posts on this website.
Join me on Facebook, Like & Follow my Freely Whole public page.
To share Soul Care Creativity, join my Freely Whole Creative Community at MeWe or Facebook,
and Follow @FreelyWhole on Instagram and hashtag your creations #freelywholecreative
💝
Living Coram Deo & freely whole
SDG!
~ Liberty—Life Restoration & Soul Transforming Creativity Coach
Empowering you to live a life that is Freely Whole—spirit, soul, and body—in Jesus!
Connect with Freely Whole on Social Media
💝
Discover more from freely whole {living}
Subscribe to get the latest posts sent to your email.