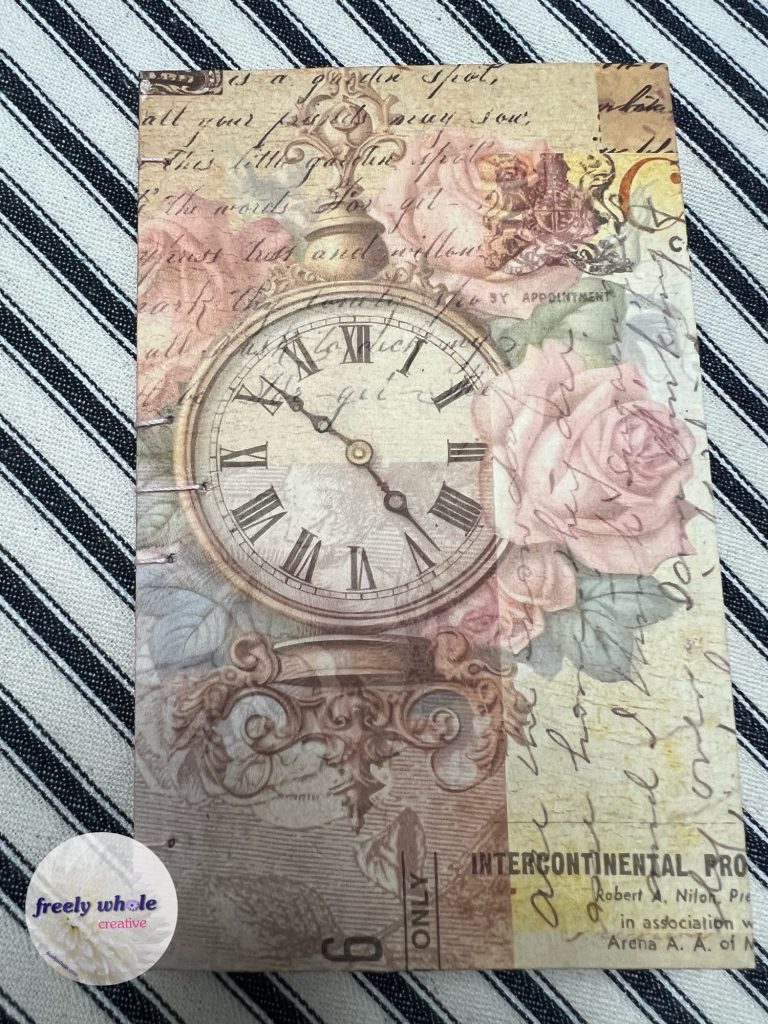
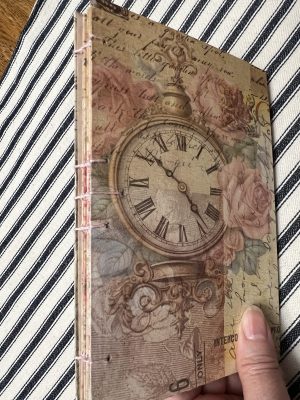
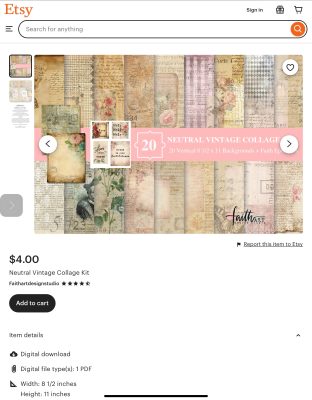
I stepped out of my usual with this project. It’s a beautiful Faith Journal with a Coptic Stitch binding, made from a digital kit, Neutral Vintage Collage Kit from Diane Marra @ Faith Art Design Studio on Etsy.
Watch the video for the process and flip through, or read the process below.
Another difference in this journal is I limited myself to only the kit and a few other papers—tea dyed and music staff papers, Bible and hymn pages, and no other outside ephemera, as well as only minimal basic tools, so anyone could do similar. I really toned this one down to show off the kit. I added my more complex work into the binding, but you can use any binding you like.
Tools & Supplies:
The tools used were just the basics: paper trimmer, ruler, scissors, score board, and glue.
I also used a couple optional tools including: corner rounder, envelope punch board, circle punch for thumb notches, key card as a template for tag angles, and Vintage Photo Distress ink and blending tool for defining the edges of the add-ons.
For the covers, I used a light chipboard food box, pokey tool/paper piercer, and I created a binding template, and for binding it together, #10 crochet thread with a plastic canvas needle since I didn’t know where my curved needles are—which would have worked better.
Construction:
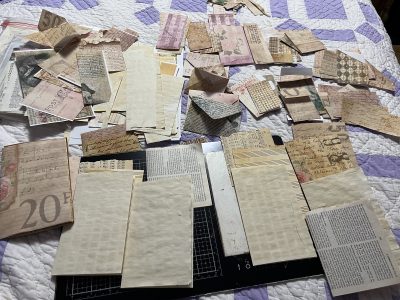
I printed out the full kit, on heavier than regular copy paper. If I’d known what pages I wanted to use for what, I’d have made different choices, but this worked. I printed several pages double sided for the pages, others were left single sided for the pockets, tucks, and such. As I constructed I went back and printed more, a few times, so I don’t know how many pages I printed total.
I chose to make my journal pages 4×6 1/2”. So cut those 8x 6.5”, choosing which sections I wanted for each page. I used 10 doublesided pages to make 2 leaves for each of the 5 signatures. I used 5 more print outs from the kit, to make envelopes for the center of each signature. I added a tea dyed paper, a music staff paper, and a Bible or hymn page to each signature. For 6 leaves per signature.
I used the cut offs and remaining papers I’d printed to make a variety of pockets, envelopes, bands, tucks and tips. Over 100! And all the pockets still don’t have something in them!
The cover is made from 2 panels of a food box, cut down to 1/4” larger in both directions than the signatures, so 4 1/4x 6 3/4”. Generally I’d use a heavier chipboard for this type of binding, but I was winging it, and making it up as I went along. And this did work out ok. I chose 2 prints I liked for the front and back covers, and 2 dyed papers for inside the covers. The prints were cut at 3/4” larger than the covers, all the way around—so I added 1 1/2” in each direction. Centering the design how I wanted it on the covers. The papers on the insides of the covers are cut 1/4” less than the covers, the same as the signatures, 4×6.5”.
Once signatures were put folded together and the covers made, I made a binding template in the pattern I wanted, and bound the book. I wanted to step out of my typical binding box, and do a Coptic stitch binding. I may have been a bit premature in doing it at this point. Normally a Coptic stitch is done for blank or printed page books, not those you are adding embellishments to. If you do add embellishments that add bulk, you’d want to add those before binding, because the stitching basically forms a spine of sorts. I just hoped that since I wasn’t planning to add a whole lot of bulk to the pages, it wouldn’t end up too much of an alligator mouth. Wishful thinking.
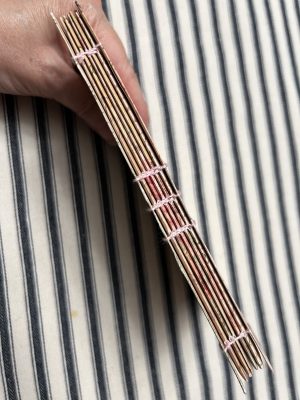
Besides the cool look of the Coptic stitch binding, it also creates a book that opens perfectly flat. Normally I’d use it when making an art journal, with mixed media or watercolor pages, that I planned on painting or inking or using other “flat” mediums on. Part of the uniqueness you can add to Coptic stitch binding is the design it forms on the cover (and spacing on the spine). You can of course, just make all the stitches the same distance apart and same depth in. But you can also vary it, to whatever look you want. I chose to do 5 stations. 1 toward each end, and 3 toward the center, with the middle one deeper than the rest.
Inside, each signature begins and ends with a double sided paper from the kit, with a cut apart from the kit added to the front of the signature. There were 4 of these, so I had to make my own fifth, with a stamp I have. Also each signature has an envelope in the center, glued together after binding, to encase much of the stitching. The remaining pages are in random order in each signature.
Each page has a pocket, tuck, or band of some type, or blank space to add your faith journaling—either directly on the blank pages or on tags, journaling cards or other papers in the pockets and tucks. Whether that be Bible study or sermon notes, prayers, scripture verses, or hymn or worship song words.
Check my other Journal making posts and videos for full tutorial instructions on how to make and put together a journal as well as how to make the various types of pockets, tucks, bands and such. Except the Coptic stitch binding, that I haven’t done a tutorial on yet.
Covering hard back journal covers tutorial here.
Several same types of pockets used in this journal (various sizes used)—tutorial here.
Living Coram Deo & freely whole
SDG!
~ Liberty
Subscribe to my email list in the sidebar and get notifications of future posts on this website.
Join me on Facebook, Like & Follow my Freely Whole public page.
To share Soul Care Creativity, join my Freely Whole Creative Community on Facebook,
and Follow @FreelyWhole on Instagram and hashtag your creations #freelywholecreative
Please consider supporting Freely Whole ministries. Your support helps me to continue to provide Soul Healing content, to empower you and others to live a life that is Freely Whole—in Jesus!
💝
Living Coram Deo & freely whole
SDG!
~ Liberty—Life Restoration & Soul Transforming Creativity Coach
Empowering you to live a life that is Freely Whole—spirit, soul, and body—in Jesus!
Connect with Freely Whole on Social Media
💝
Discover more from freely whole {living}
Subscribe to get the latest posts sent to your email.


